If you chose to import an accounts list:
The format of the file to import can be software such as Microsoft Excel or Notepad, in a tab-delimited or comma-separated text file.
Note!
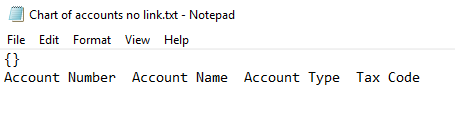
Ensure the ‘{}’ is included on the first row of the file to be imported:
Please advise if you would like a sample file sent to be provided.
Note!
This is a sample file only – please seek professional advice from you Accountant or Bookkeeper to confirm your accounts list prior to importing
Tip!
To further assist with preparing the file to import, you can export the same type of data from AccountRight’s sample company file, open the exported file and replace the contents with your data ready for importing
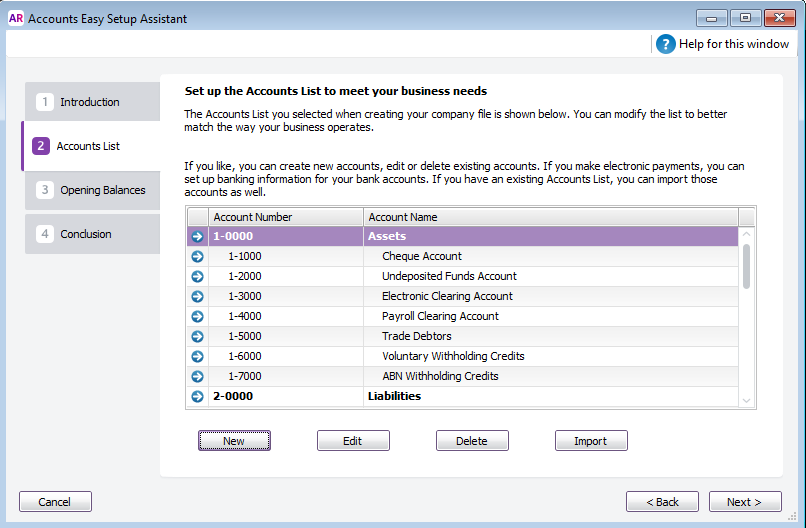
Go to Setup > Easy Setup Assistant.
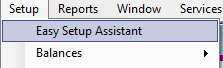
Select Accounts

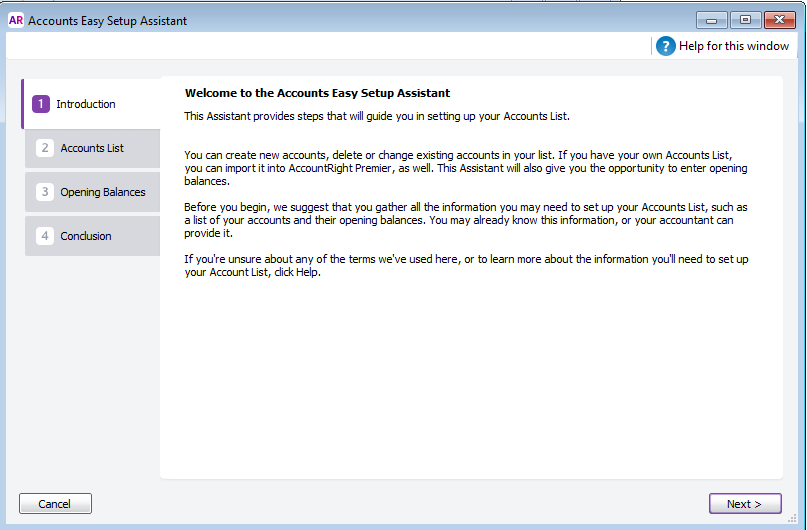
Click ‘Next’ to proceed with the setup.
Select ‘Import’ and ‘Next’ to continue.
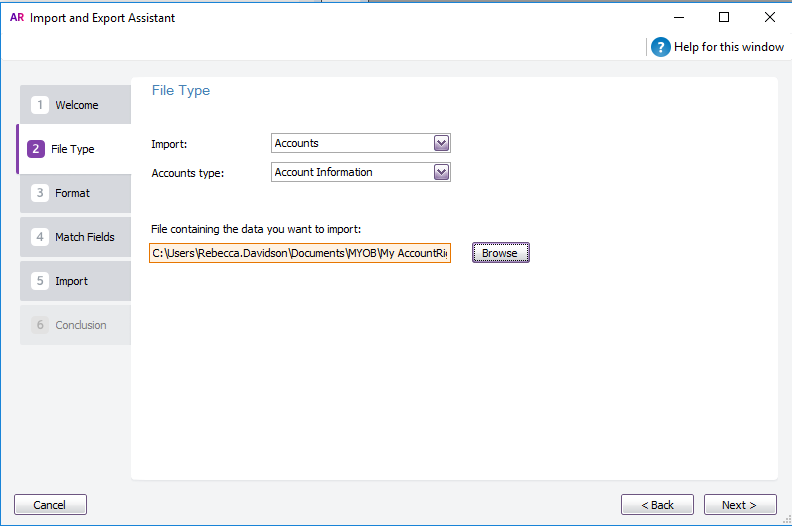
From the drop-down lists, select ‘Accounts’ to import and ‘Account information’ for accounts type. Then locate the import file and select ‘Next’ to continue.
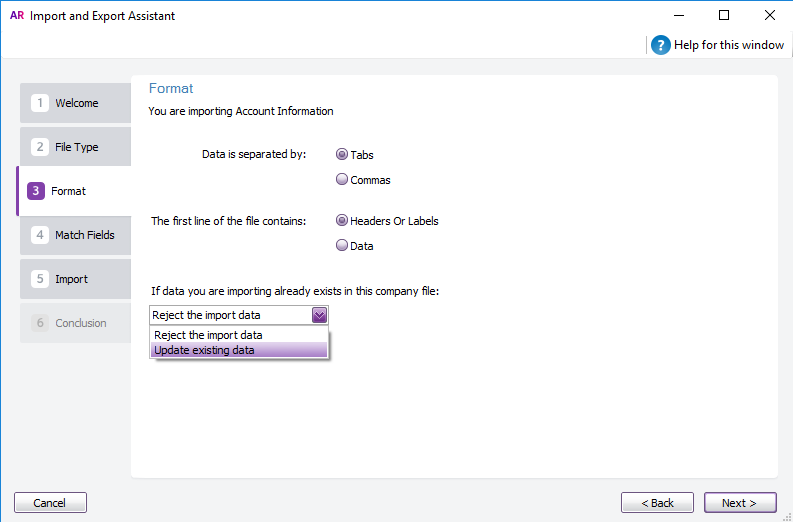
As specified above, the file format is ‘tab’ separated and the first line contains ‘Headers Or Labels’. Then, from the drop-down list, select whether you need to ‘Reject the import data’ or ‘Update the existing data’. Select ‘Next’ to continue.
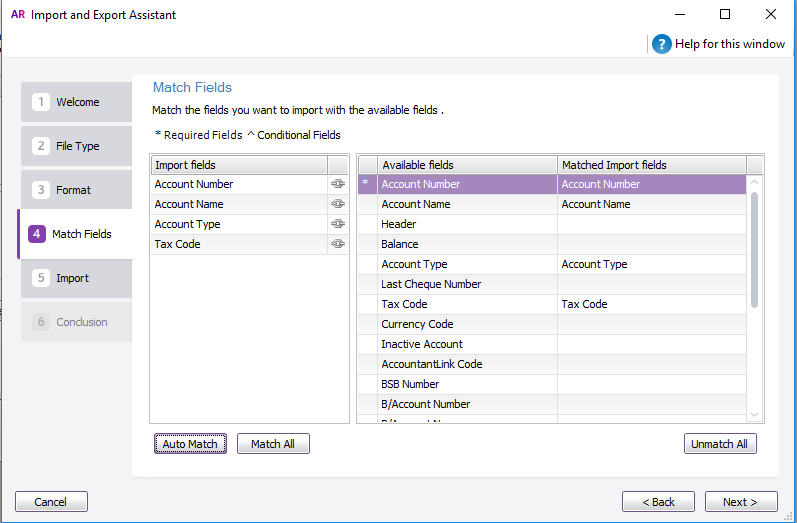
When matching the fields for importing, select auto match and confirm that this has matched the import fields with the corresponding MYOB fields correctly. Select ‘Next’ to continue.
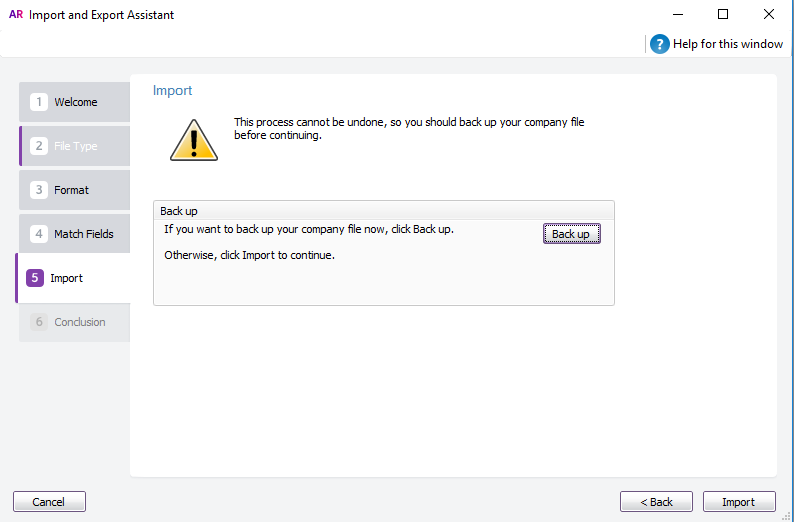
A back up prompt will appear and is recommended.
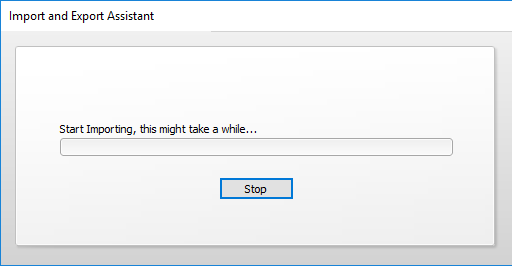
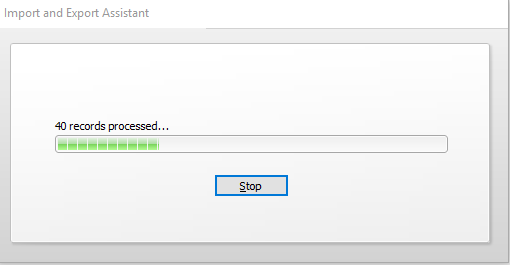
The task bar will update as the process continues.
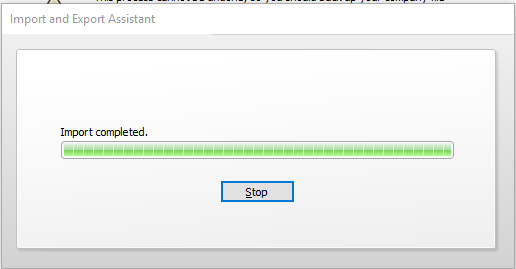
Before this is fully completed, you will see the following pop up – DO NOT SELECT ‘Stop’ – just wait.
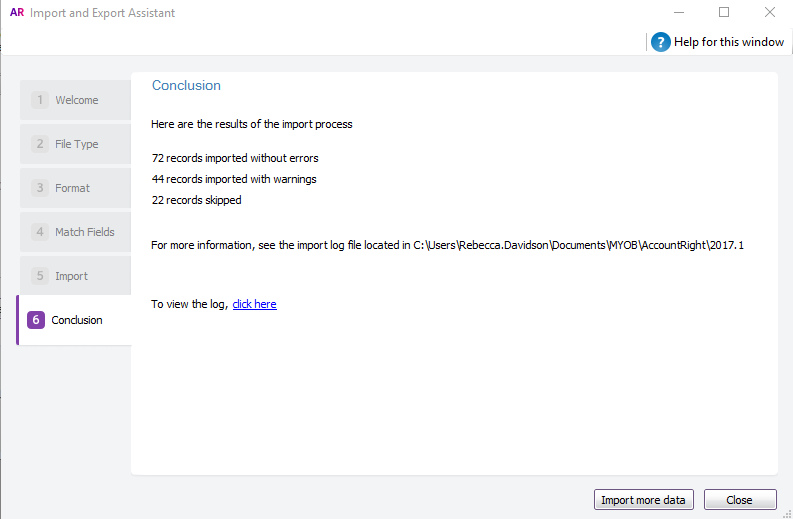
Once the process has fully completed, the results of the import are then displayed. View the log to ascertain whether any further amendments to your chart of accounts is required (you may need to consult your Accountant or Bookkeeper on this).
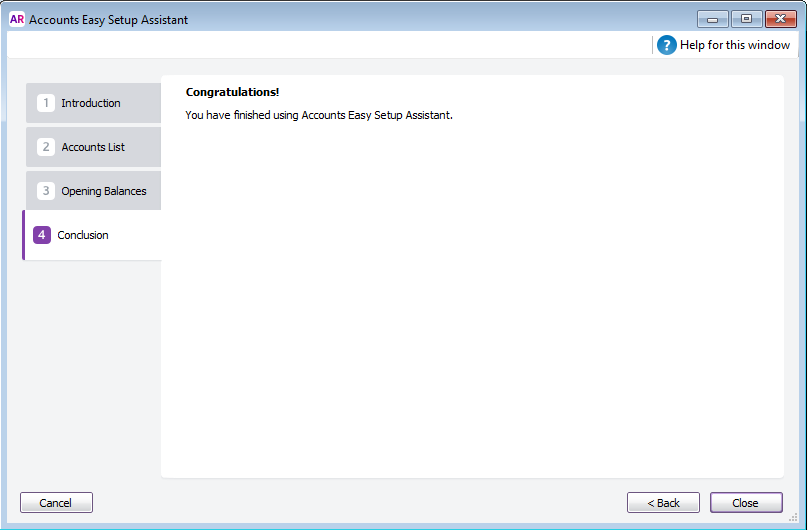
The Accounts Easy Setup Assistant is now concluded, select ‘Close’.
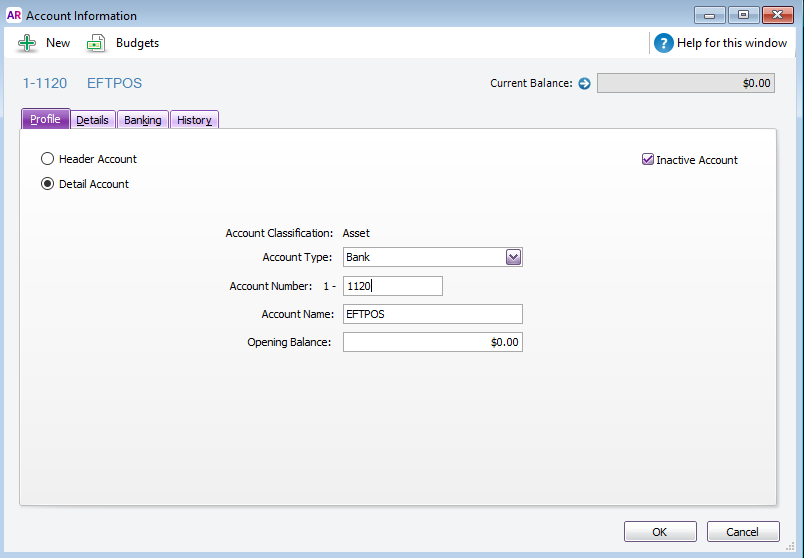
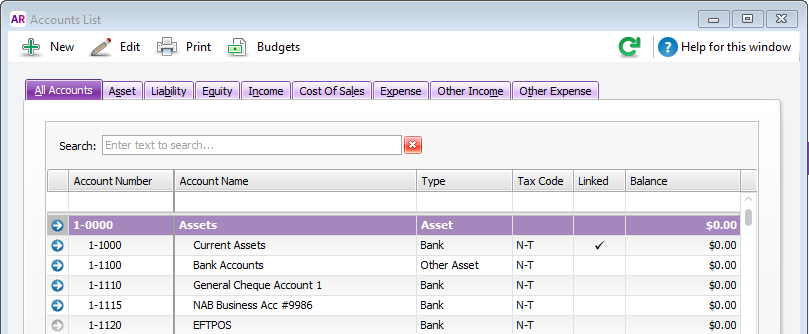
Double check all accounts required are marked as active in MYOB.
Go to Lists > Accounts

The arrow beside each account indicates whether the account is active (blue) or inactive (grey).
To update the account status, click on the arrow to open the profile and tick or untick the account status as required.